Master Jumpseller Automations and Enhance Customer Engagement
Dive into the Email Automations feature. Learn how to set triggers, craft flows, and send timely emails to boost customer relations. Your guide to ...

Firstly, make sure you have integrated Sender with Jumpseller.
Then, in your Sender account, go to Forms and select “Create a new form” if you haven’t already. Follow this tutorial for creating a pop-up form. To edit an existing form, click the arrow button next to “Overview” and choose “Edit.”
Before moving forward, make sure to edit the form behavior settings to your liking. These can be set in Forms -> Arrow button (next to your pop-up form) -> Edit.


Once you have finished editing, click Save and Continue.
In the Overview page, under Activity summary, enable the form by switching the toggle.

That’s it! Your form will now appear on your website according to your chosen behavior settings.
Access your Sender account, navigate to Forms, and select “Create a new form” if you don’t have one yet. Refer to this tutorial for creating an embedded form. To edit an existing form, click the arrow button next to “Overview” and choose “Edit.”

Once you have an embedded form, click the “Overview” button beside it.

On this page, you’ll find the Activity summary, Form URL, QR code for the form, and integration instructions.

In the integration instructions, locate the form’s script (embedded forms consist of two script parts).

With your scripts prepared, go to your Jumpseller store: Admin Panel > Themes > Visual Editor.

Navigate to General settings -> Edit Settings -> Other options.
Insert the first script into “Embed code on the end of <head>” and the second one into “Embed code on the end of <body>.”
Save the changes.
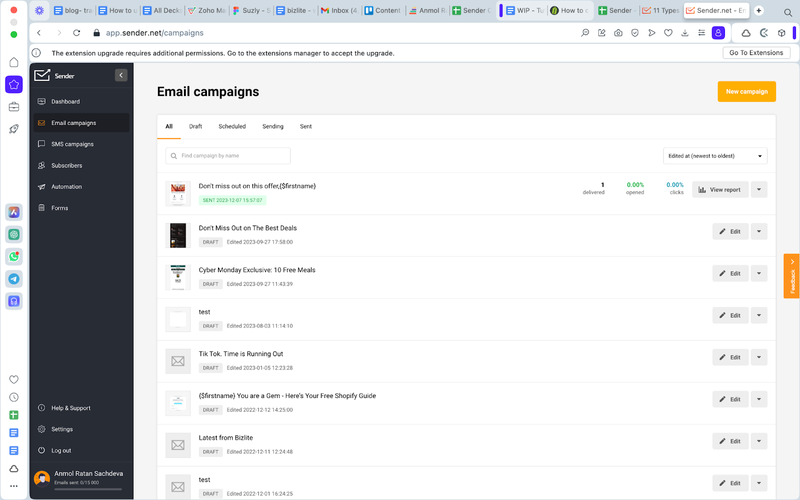
Login to the dashboard, choose ‘Email Campaigns’, and click the ‘New Campaign’ button.
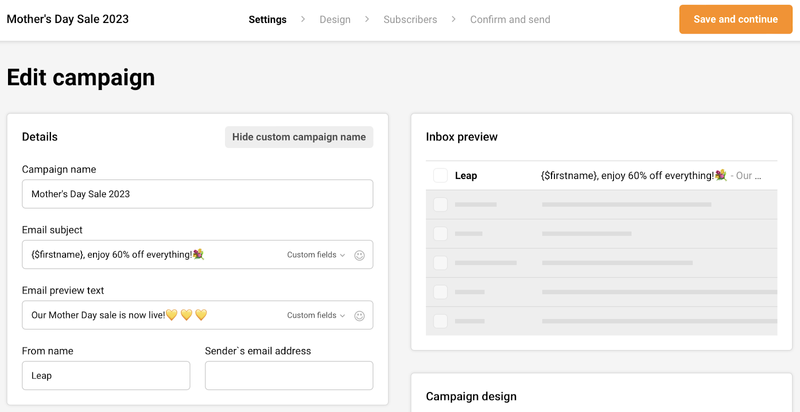
Name your campaign and add the subject line & email preview text. You’ll see a preview of how your email will look in the subscriber’s inbox on the right side.
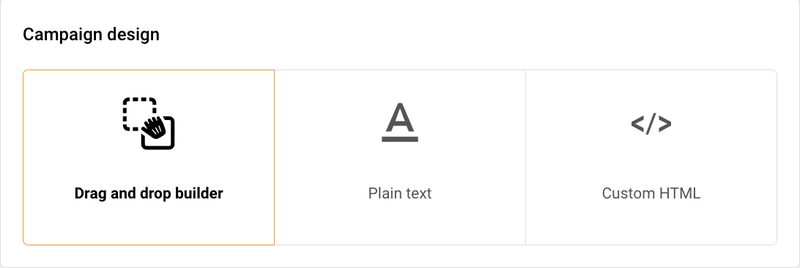
Choose how you wish to create the email from the bottom right corner of the screen – using a drag-and-drop builder, plain text, or custom HTML. If you want to design emails quickly, choose drag-and-drop builder.
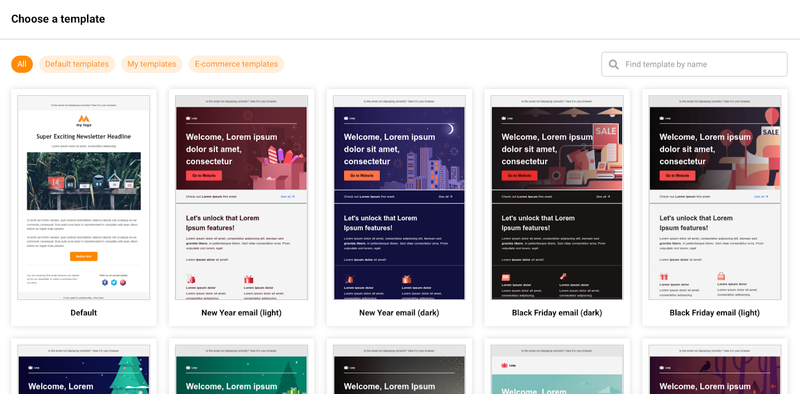
Pick a readymade email design from the template library, or start designing from scratch.
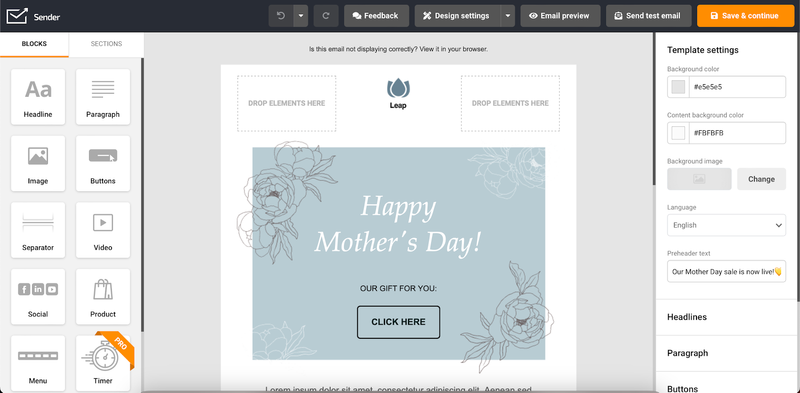
Customize the design or add the content using the drag-and-drop builder. You can change the branding, design, and colors or pick blocks from the left panel to add to your email.
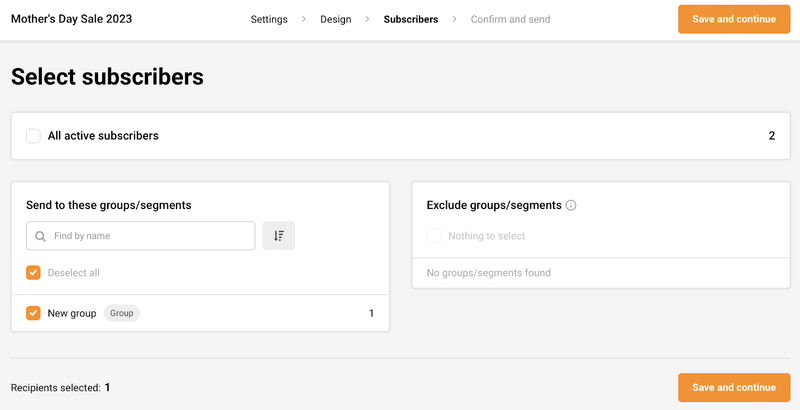
Pick a subscriber group you wish to send or exclude specific groups. Once you’re done, Click the ‘Save & continue’.
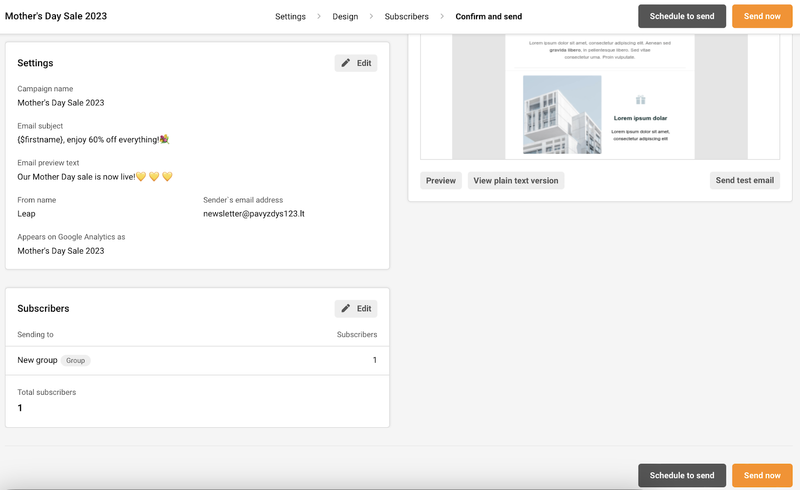
Review everything and schedule the campaign or send it right away.
That’s it. Congratulations. Now, you’re ready to send email campaigns using Sender.
Free trial for 14 days. No credit card required.