Setting up a Corporate Email
A personalized email is inexpensive and easy to get. By using email hosting softwares such as Zoho, Google Workspace, Office 365, and Fastmail, you...
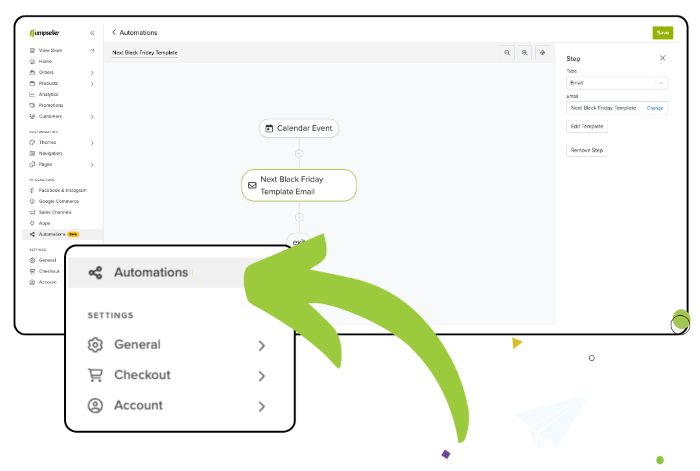
Automations empower you to automate email workflows based on triggers, enhancing customer engagement. Personalize your messages, boost sales, and retain customers by utilizing our Customer Filtering feature to precisely target your audience. This integration ensures your automated emails are as relevant and effective as possible.
To enhance the trustworthiness of your emails and ensure they consistently reach your customers’ inboxes, we strongly recommend using your custom domain instead of generic addresses such as no-reply@jumpseller.com.
In case you don’t have a custom domain, you can create it through your admin panel, in General > Business Email.
For the automations, all emails are currently dispatched from automations@jumpseller.com. However, should you wish to make a change to have these emails sent from your own identifiable email address, please reach out to our support team for assistance. Upon contacting us, you will be provided with the necessary steps to follow, and within a few hours, you will be able to send your emails from your distinctive email address.
Ensuring the use of a custom domain not only reinforces the credibility of your communications but also contributes to a more personalized and trustworthy interaction with your customers.
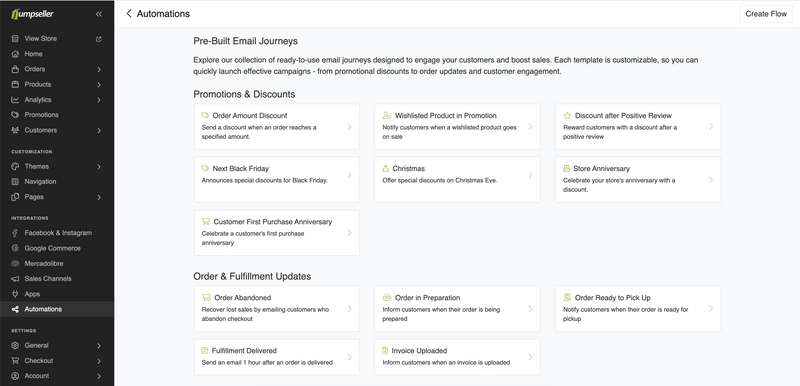
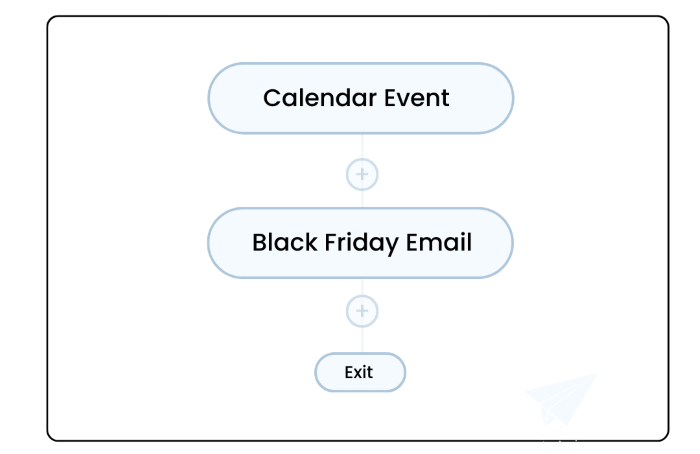
Triggers serve as the foundation, either rooted in specific orders, dates, products or customer events. All subsequent choices of emails or question criteria need to be aligned with the chosen trigger.
These events will trigger a step in the workflow after they happen.
All customers, accepting marketing communications, will be the target of a calendar event, this is specially useful to send seasonal campaigns such as for Christmas or Cyber Mondays.
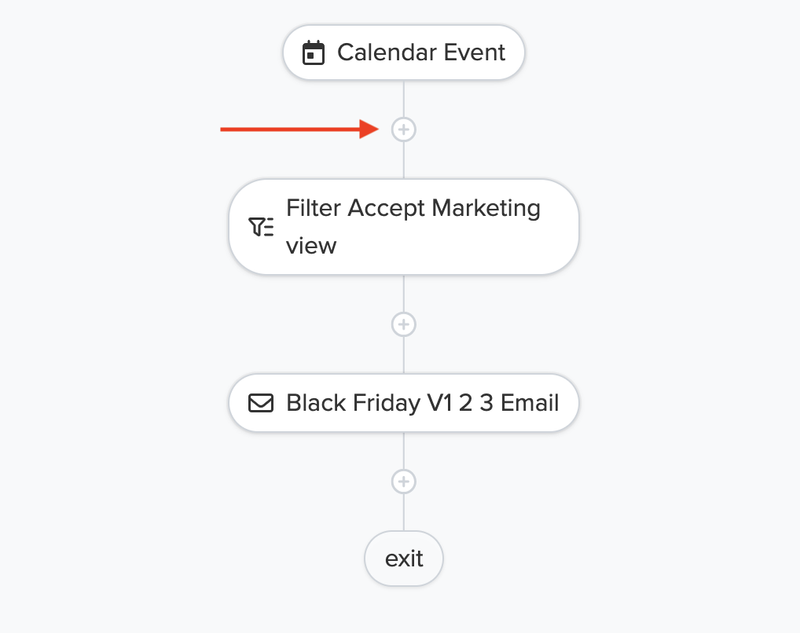
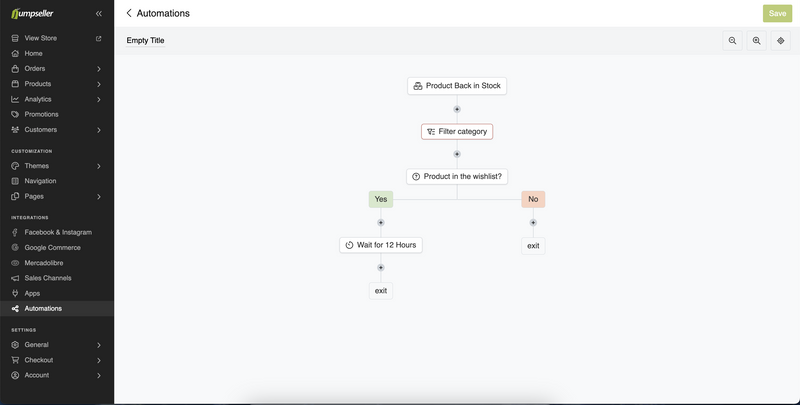
To add a new step, you can click on the “+” button as shown in the image above. You can add mulitple steps within the same automation.
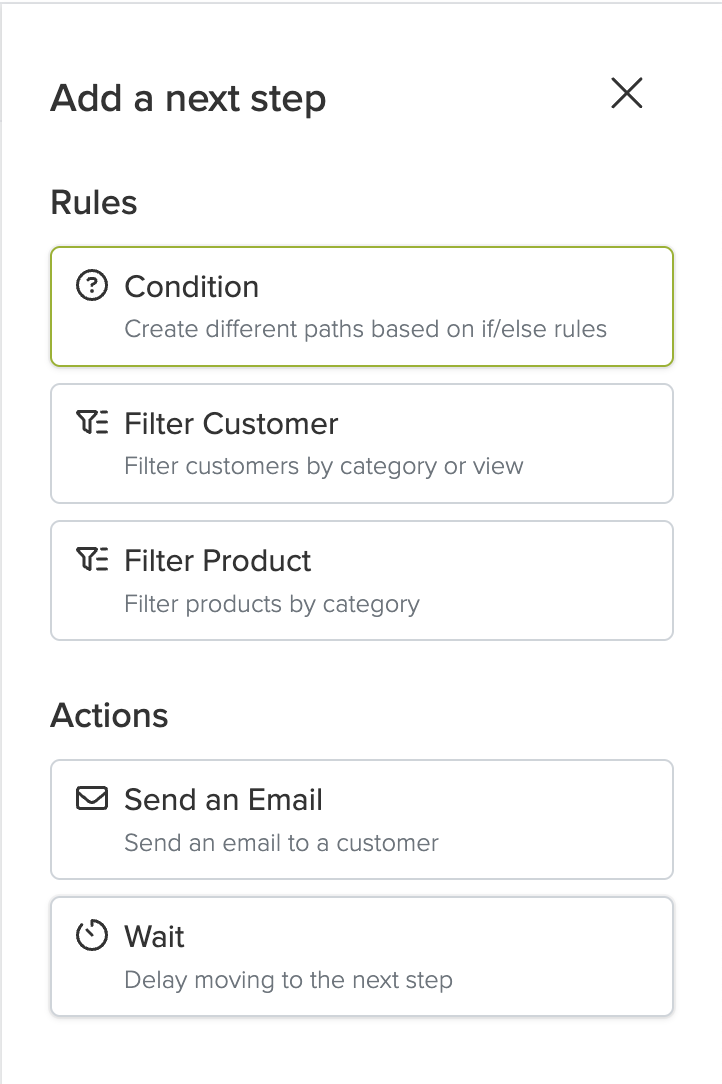
Concerning Condition steps, there are six possible types of questions.
When the trigger is associated with an order, we can segment the automation flow based on the order amount and whether it is entirely composed of digital products.
For customer and calendar triggers, there is the possibility of segmenting the flow based on the customer’s creation date, the total number of paid orders, and the overall amount spent by the customer.
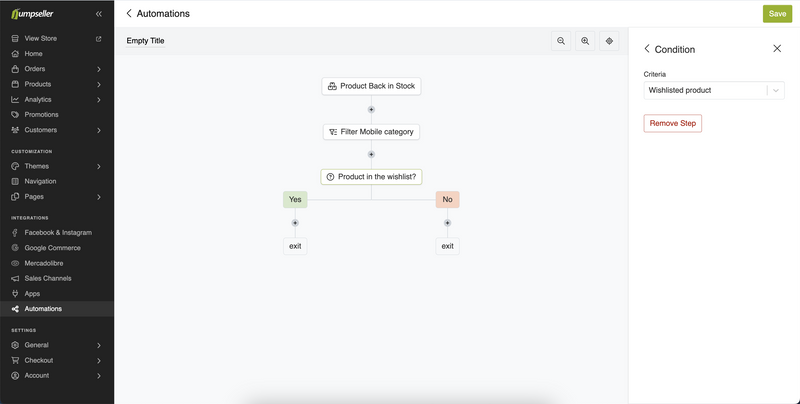
For product-based triggers, an additional segmentation criterion is available: Wishlist Product. This allows you to define distinct automation flows depending on whether the product is part of the customer’s wishlist or not.
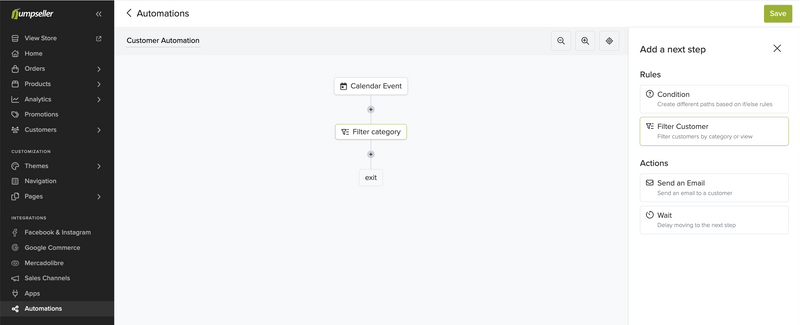
The Customer Filter Step allows you to refine your audience by category or a specific pre-created View. By selecting either of these options, the automation will target customers who meet the specified criteria. You can seamlessly integrate this step anywhere within your automation sequence.
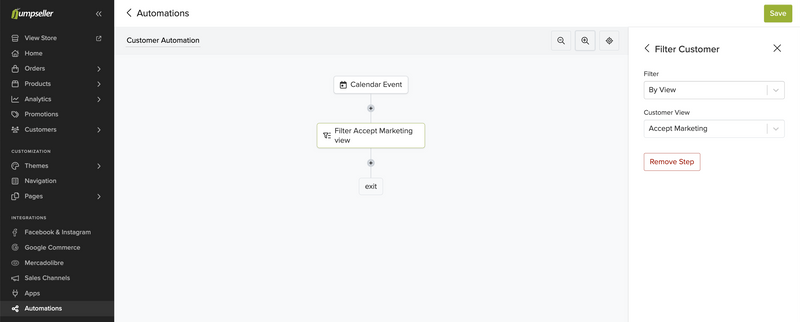
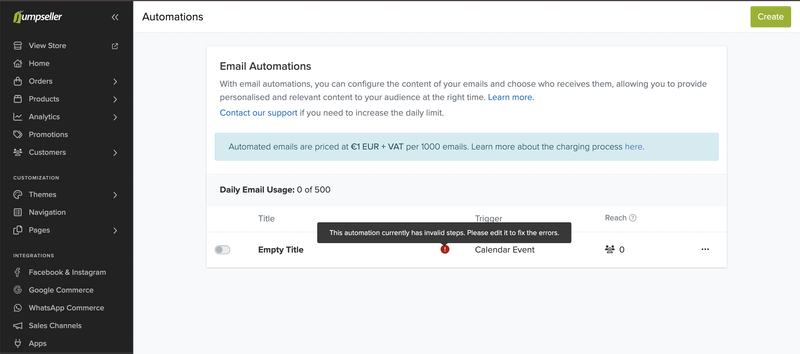
It’s crucial to note that if you remove the selected category or View, the automation becomes invalid and is automatically disabled until the issue is resolved.
The Product Filter Step allows you to refine your automation by targeting products within specific categories. Once set, the automation will proceed only for products that match the selected categories. This step can be added at any point in your workflow to ensure more focused and relevant actions.
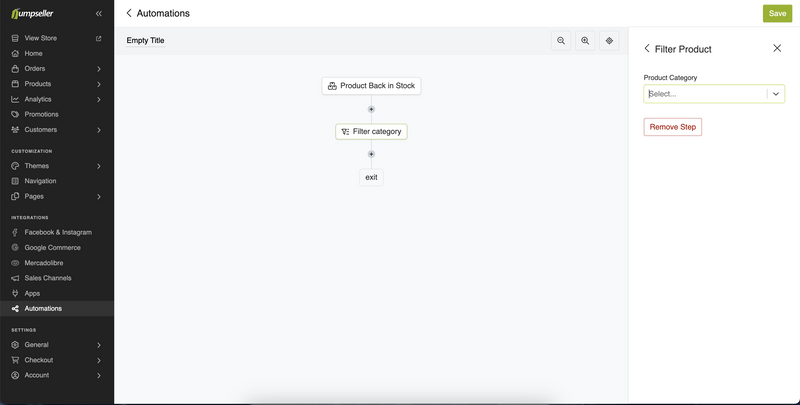
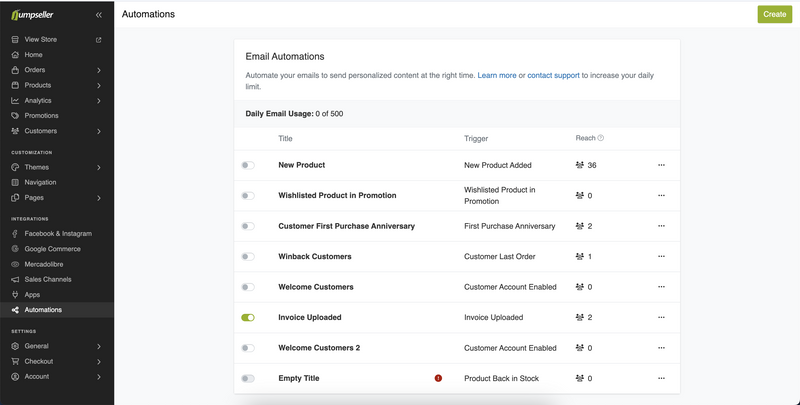
It’s crucial to note that if you remove the selected category, the automation becomes invalid and is automatically disabled until the issue is resolved.
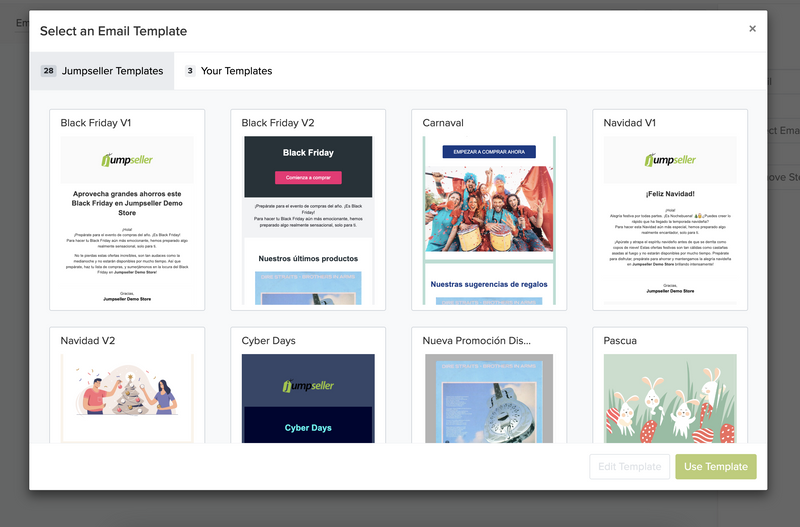
When you arrive at the Email step, you have to click “Select Email” and it will open an “Email Templates Gallery”:
For further documentation, please visit our section dedicated to Email Editor.
All automations are triggered by specific events, and with the exception of the calendar trigger, each trigger can only be activated by one customer. Consequently, an automation in a particular instance is directed towards a single customer.
For calendar triggers, the automation reaches out to all store customers. However, if Customer Filter steps are in place, only segmented customers receive the emails.
Please be reminded that only customers who have consented to receive marketing communications are eligible to receive these emails.
Currently, there are two types of limits associated with emails sent through our automation system (please note that these limits may change over time).
1) For stores sending emails through personalized addresses, there is a daily limit of 5000 emails.
2) For all other stores, the daily limit is 500 emails.
Additionally, we will notify you via email when you approach your limit. If you wish to send emails to a number of customers that exceeds your remaining limit, please contact us, and we will provide assistance.
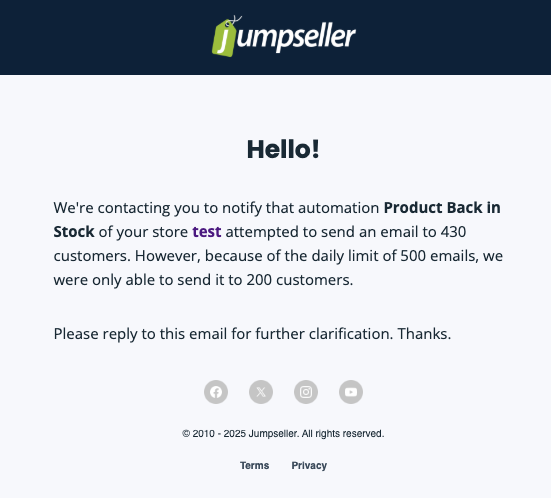
We appreciate your understanding and cooperation in managing these email sending limits. Should you have any questions or require further clarification, feel free to reach out to our support team.
As of now, our automation feature has transitioned out of beta, and we have implemented a pricing structure for the emails sent through this service. This allows us to sustainably manage the usage of our resources while continuing to provide a seamless experience for our users.
Each block of 1000 emails is priced at $1USD + VAT. These charges are automatically processed using the payment method linked to your subscription. In cases where payment cannot be processed or if there is no existing payment method, the charges will be added to your store credit.
We appreciate your continued support and understanding as we strive to deliver a reliable and efficient service. If you have any questions or feedback regarding our pricing structure or any other aspect of our service, please don’t hesitate to reach out.
For any questions you may have, you can contact us.
Free trial for 14 days. No credit card required.