How to use Zapier with your website.
Use Zapier to connect you Online Store with more than 2,000 apps! Easy to install and simple to use!
Most companies want growth, and you want to communicate more effectively with more customers, improve messaging efficiency, and increase overall sales. Who wouldn’t want that, right?
Many tools can help with this, mainly since a large part of the customer journey now occurs via the Internet. With these tools, you can use complex data to improve your marketing and grow your brand. But to do that, you need data that you can use and a plan for how to use it.
Apps like Klaviyo come to the rescue here.
Klaviyo is a marketing automation tool that includes forms, customer data profiles, personalized email and SMS marketing, and ad segmentation. It uses machine learning to create more robust user-profiles and richer forms that capture customer information more efficiently and unlock new audience segments. Businesses can use this information to optimize and personalize marketing messages and channels to increase sales.
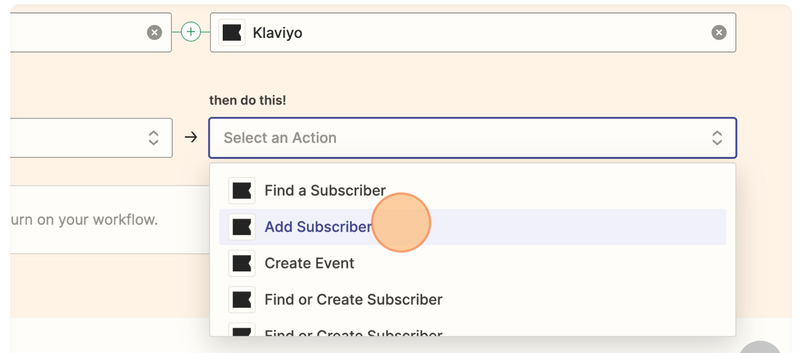
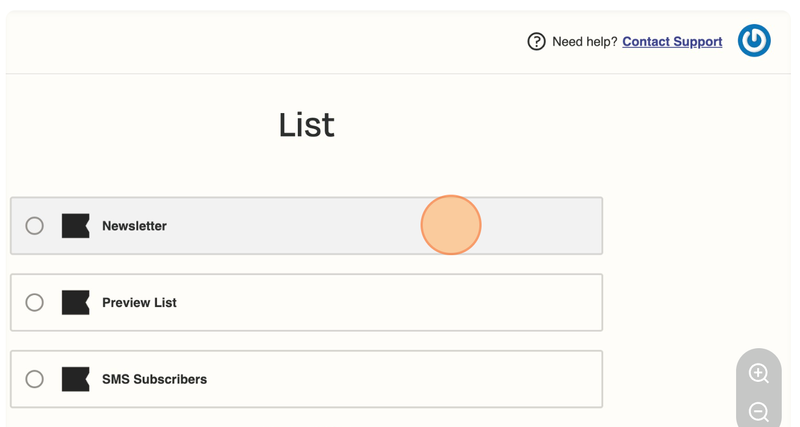
Zapier works with Klaviyo’s marketing automation features, allowing you to follow new events, create events, and manage subscribers to your marketing communications, such as newsletters or SMS marketing.
Setting up automation with Klaviyo through Zapier is easy and takes just a few clicks once you’re using both tools. You’ll need accounts with Zapier, Klaviyo, and Jumpseller, plus whatever platforms you’d like to connect Klaviyo with through Zapier.
Once you have your accounts created, log into Zapier and go to the My Apps page. Search for “Klaviyo,” and then click Connect when it pops up in the results.
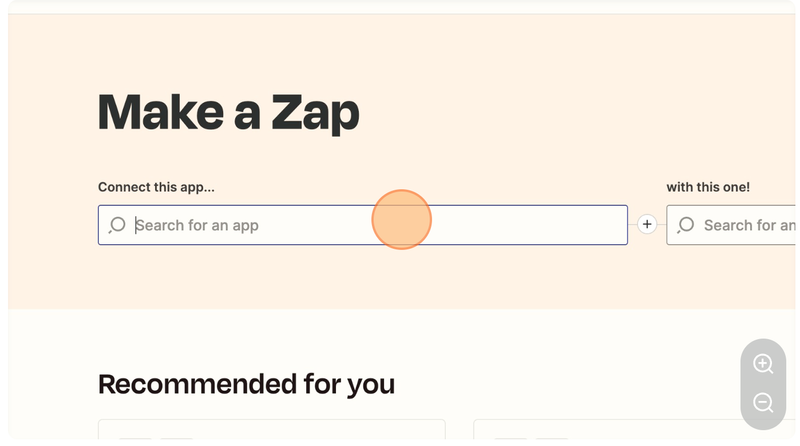
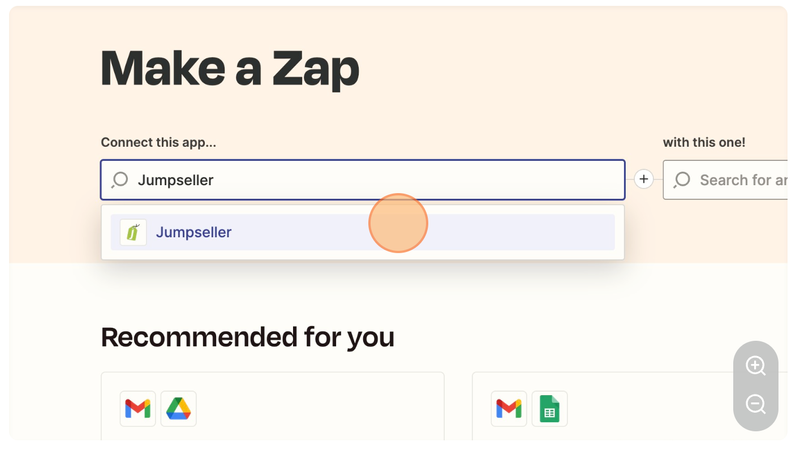
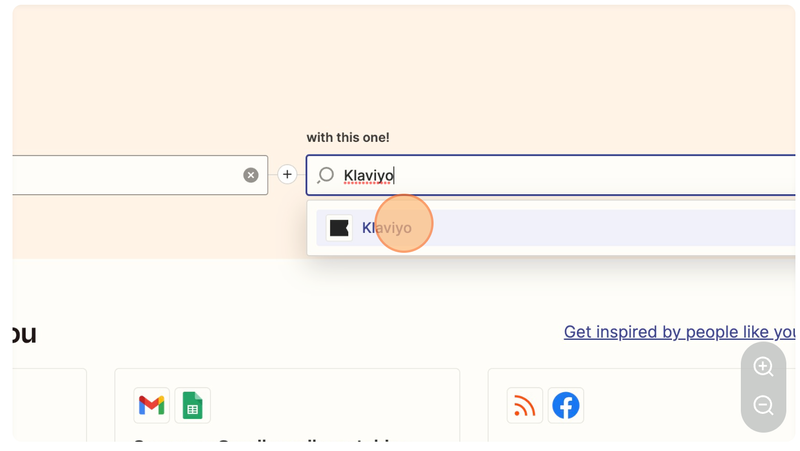
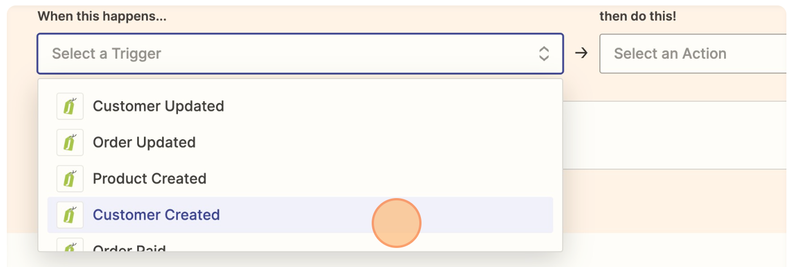
These steps will create a Zap that will send new Jumpseller Customers to Klaviyo.
Klaviyo is a great tool to help you better understand and optimize your audience to grow your brand effectively. By leveraging automation to constantly look at each stage of a customer’s journey from all potential touchpoints, you can delve into your audience at a given moment and get better data to act on.
Do you want to create a different Zap and need help finding the proper setup? Request one example like this to our support channel.
Free trial for 14 days. No credit card required.